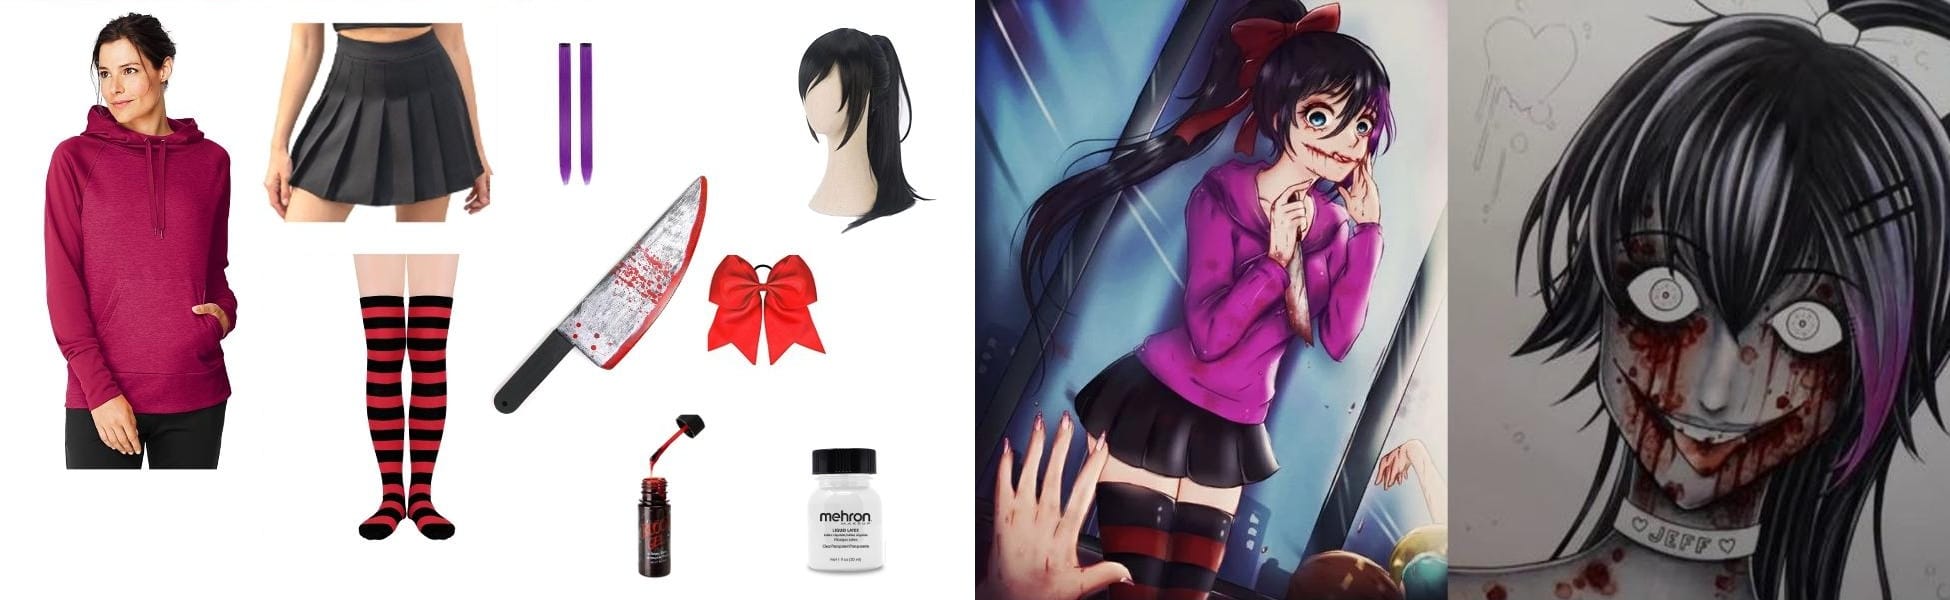
What You’ll Need





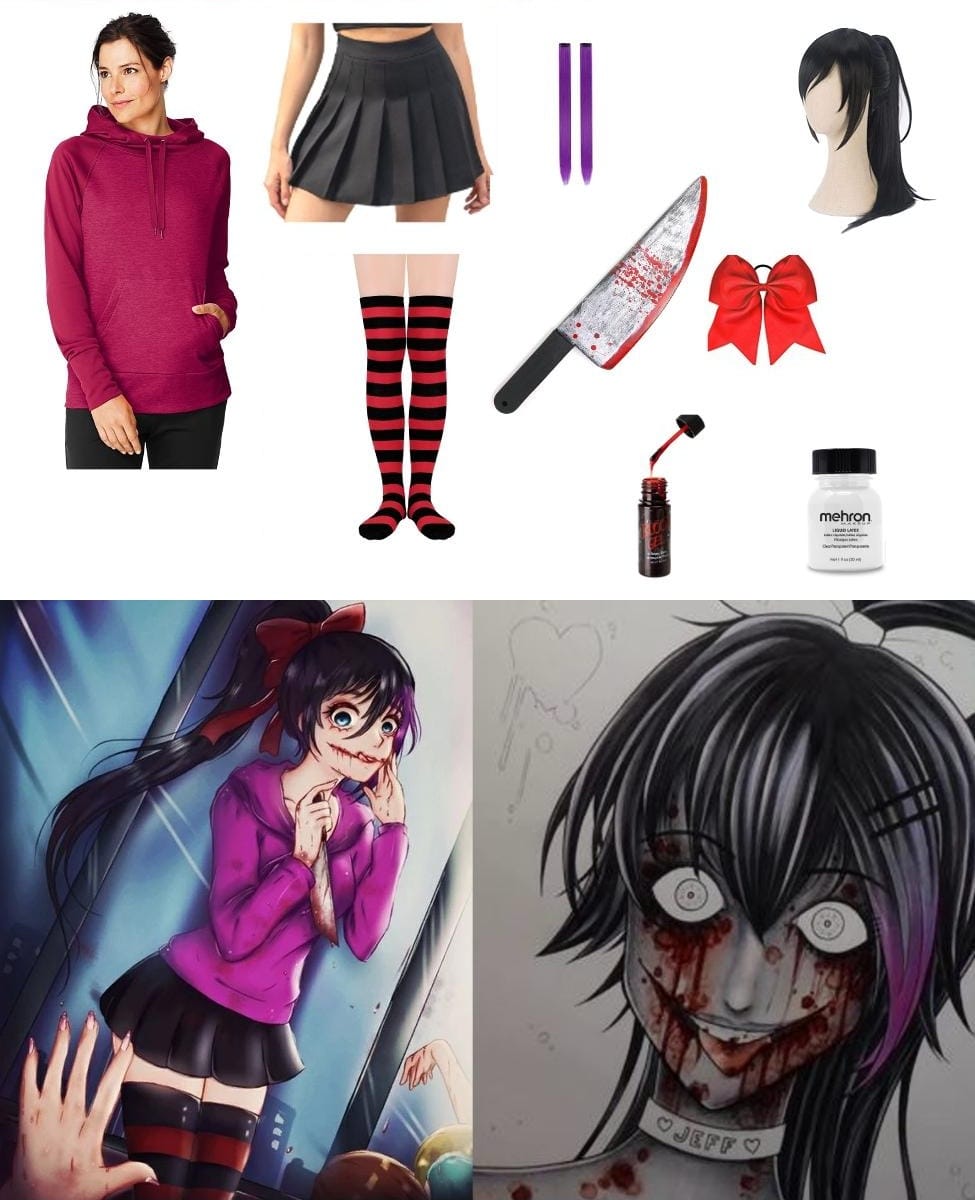
Building Nina’s Look From the Hoodie Down
The hoodie is the centerpiece of this costume, and the color matters more than the brand or fabric. Nina’s signature fuschia or dark pink is specific enough that a plain pink hoodie won’t quite work. Look for something in a saturated magenta or hot pink rather than a pastel or dusty rose. An oversized fit is the right call—it gives the character her slumped, casual silhouette and leaves room for layering. Check the hood itself; a thicker, structured hood holds its shape better if you plan to wear it up for photos.
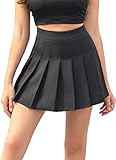
Below the hoodie, a black pleated skirt keeps the outfit grounded. The pleats don’t need to be sharp or uniform; a school-uniform-style skirt with box pleats works, and a slightly worn or distressed one fits the character’s energy just as well. Length is flexible, but a shorter skirt balances the oversized hoodie better than a midi. Pair it with black and red striped thigh-high socks. These are widely available online, but check the stripe pattern—some versions have thin racing stripes, while Nina’s are thicker and more evenly spaced. If you can’t find the exact pattern, solid black thigh-highs with a separate red stripe sewn on are an easy fix.
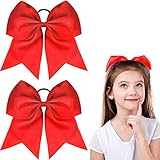
Hair is where the character starts to come together. A long black ponytail wig is the base, and you’ll want one with enough volume that it doesn’t lie flat against your back. The purple streak is the defining detail—clip-in extensions in a bright violet or purple are the simplest route, and they can be clipped directly into the ponytail without altering the wig. Secure the whole thing with a red bow hair tie at the base of the ponytail. If the wig is heavy, pin it to your natural hair or a wig cap with bobby pins crossing through the wefts; a single ponytail holder won’t hold up for a full convention day.
The carved smile is the part worth practicing. Liquid latex applied in thin layers will create the raised, scarred edges you need. Build up two or three layers around the mouth, letting each dry completely before adding the next. Then use a dark red or black cream makeup to fill the interior of the smile before layering fake blood gel on top. The gel is what gives the wound its wet, glossy finish—apply it generously along the edges and let it pool slightly at the corners of the mouth. Do a patch test on your inner arm before applying latex near your lips, since skin sensitivity varies.
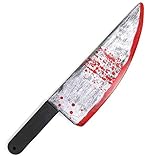
A plastic knife completes the look. Convention rules almost always require prop weapons to be clearly non-functional, so a realistic plastic or resin knife is the standard choice. You can add fake blood gel directly to the blade and handle, but let it dry partially before handling so it doesn’t transfer to your hands or clothing. Adding a few smears of blood to the hoodie’s sleeves and hem ties the whole costume together without overdoing it.
The contrast between the bright, neat clothing and the chaotic, bloody face is what makes Nina work. Keep the clothes clean and the makeup messy. That dissonance does the heavy lifting.