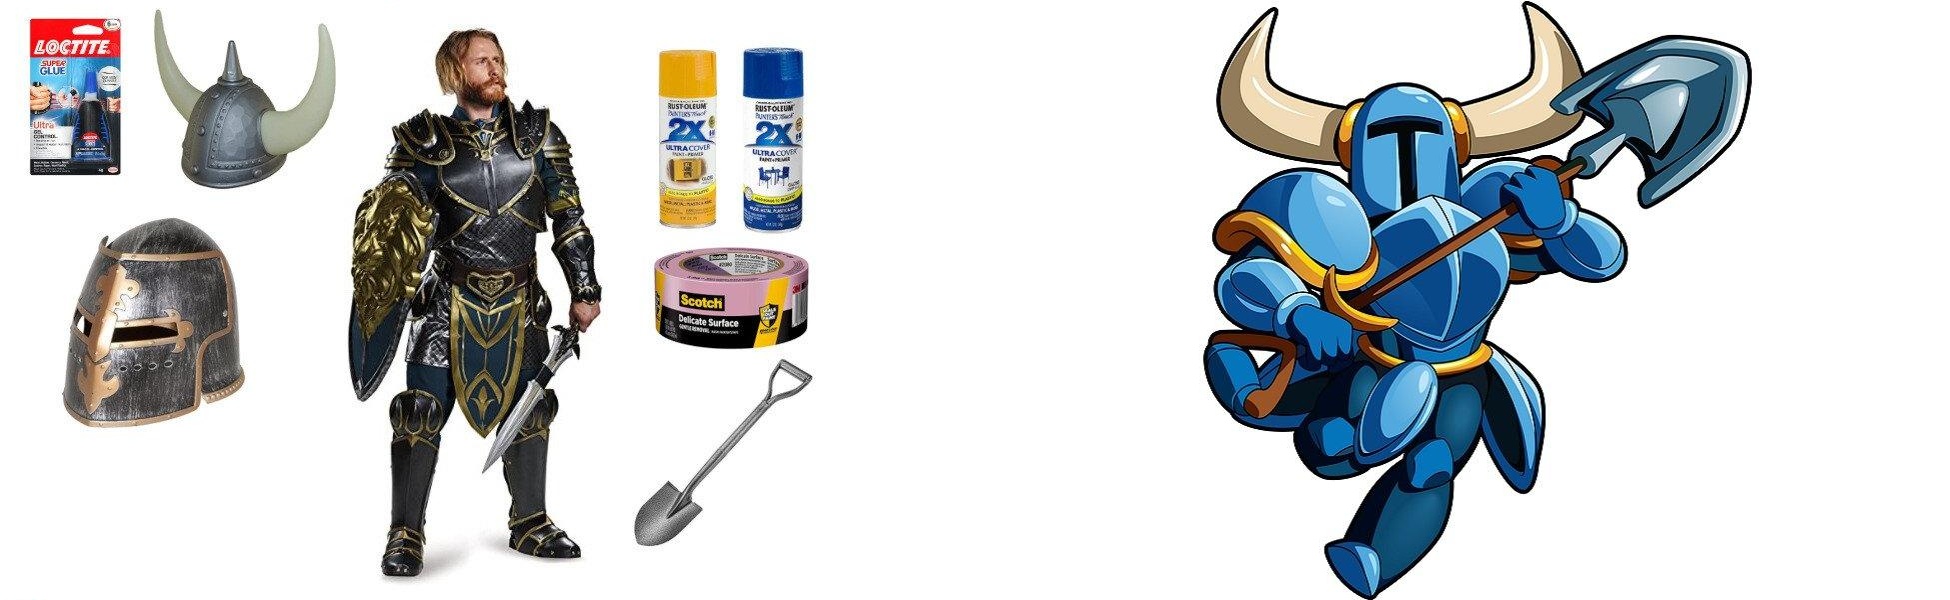
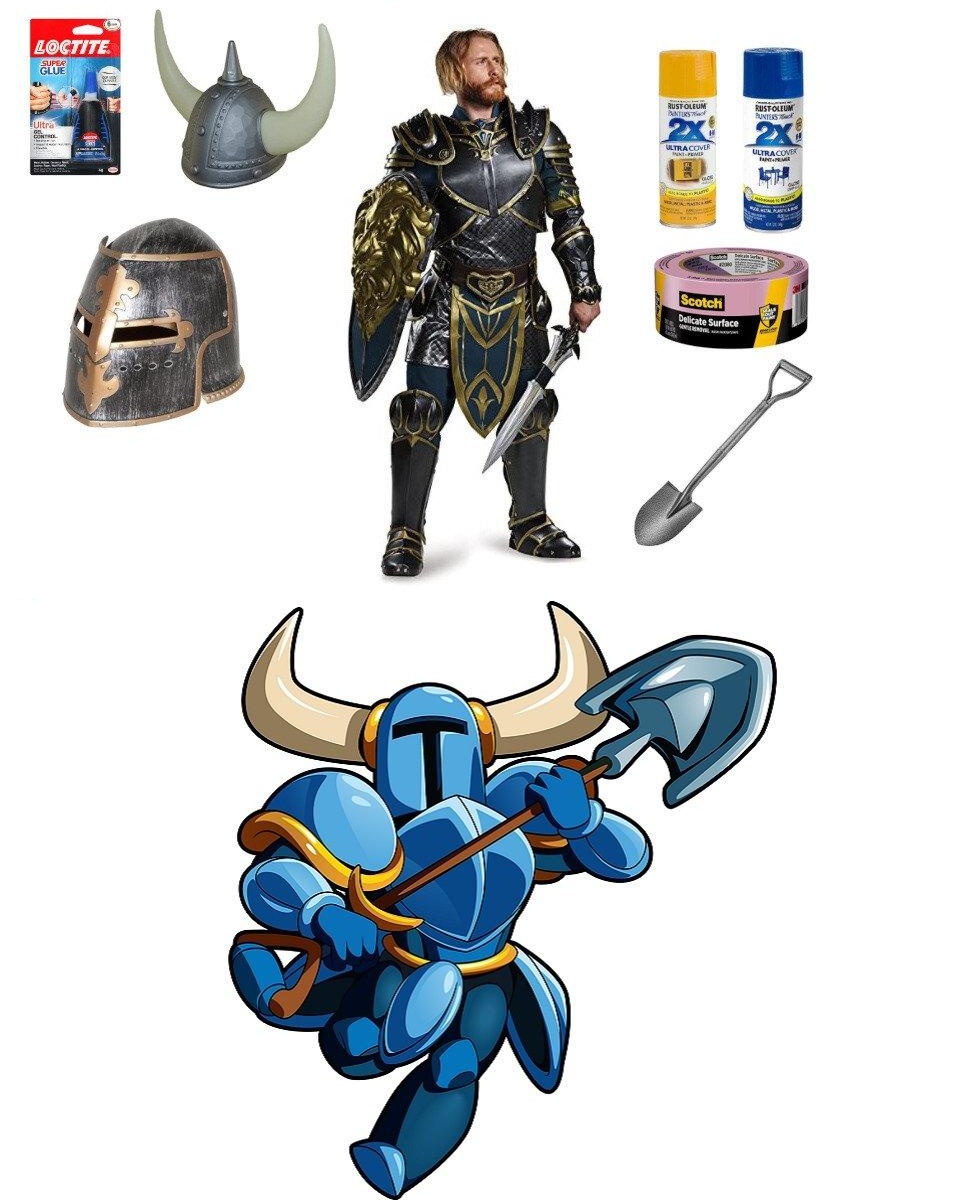


Shovel Knight‘s appearance is built around exaggerated retro proportions translated into full-plate armor. The silhouette is immediately distinct: broad curved pauldrons, vibrant cerulean plating with thick yellow trim, and a closed visor helmet crowned with massive horns. Getting the costume right comes down to matching that saturated color scheme and nailing the oversized shapes rather than obsessing over hyper-realistic metallic weathering.
Because full armor fabrication from scratch can be time-consuming, adapting lightweight base armor pieces with paint and attachments offers a direct route to a convention-ready kit. The core build centers on a base suit of armor, a modified helmet, and the signature shovel blade.
Modifying the Horned Helmet
The headpiece defines Shovel Knight before anything else. A standard medieval full-face Helmet provides the right dome shape and visor coverage to conceal your face completely. To create his signature silhouette, you need to mount large curved Horns directly to the temple areas of the shell.
Positioning the horns symmetrically takes a little trial fitting before making anything permanent. Mark your attachment points on both sides of the helmet with a pencil, keeping the horn tips swept backward and slightly upward. Scuff the contact spots lightly with sandpaper to remove the factory sheen, then secure them in place with Super Glue. Holding each horn firmly until the bond sets prevents them from drooping under their own weight.
Painting the Blue and Yellow Armor
The bulk of the outfit comes from a Set of Armor covering the torso and shoulders. Shovel Knight’s gear does not look like raw battered steel; it looks like saturated pixel art brought into three dimensions. That means you want an even, opaque coat across every plate.
Start by wiping down the armor plates and helmet to remove dust and manufacturing oils. Lay down multiple light coats of Blue Spray Paint across all the main surfaces, giving each layer several minutes to dry so the paint does not run or pool in crevices. Rushing this step usually leads to drips that show up noticeably on smooth armor surfaces.
Once the blue base coat cures completely, use Painter’s Tape to mask off the raised rims along the shoulder guards and chest trim. Crisp tape lines are what give the armor its clean cartoon look. Cover the blue sections thoroughly, then apply Yellow Spray Paint to the exposed borders. Peel the tape away slowly while the paint is slightly tacky to prevent pulling up dried edges.
Preparing the Shovel Blade
A knight needs a weapon, and in this case, a standard Shovel serves as your ShovelBlade. A pointed digging shovel with an oval or round scoop works best instead of a flat snow spade. The shaft gives you a comfortable grip during long hours of walking, and the proportion should reach roughly chest-high when resting on the ground.
If the hardware finish on the shovel looks too modern, tape off the handle and give the metal scoop a clean coat of blue or silver to match your armor aesthetic. Check convention weapon policies beforehand, as metal tools often require inspection, dulling of edges, or peace bonding at the prop check desk.
Underlayers and Fit
Beneath the armor plating, wear a plain dark blue or black long-sleeve athletic shirt and matching fitted pants. The dark layer fills in the gaps between the chestplate, faulds, and shoulder bells so your skin remains covered without adding bulk. Breathable stretch fabrics work best here since plastic and foam armor trap body heat quickly during prolonged wear.