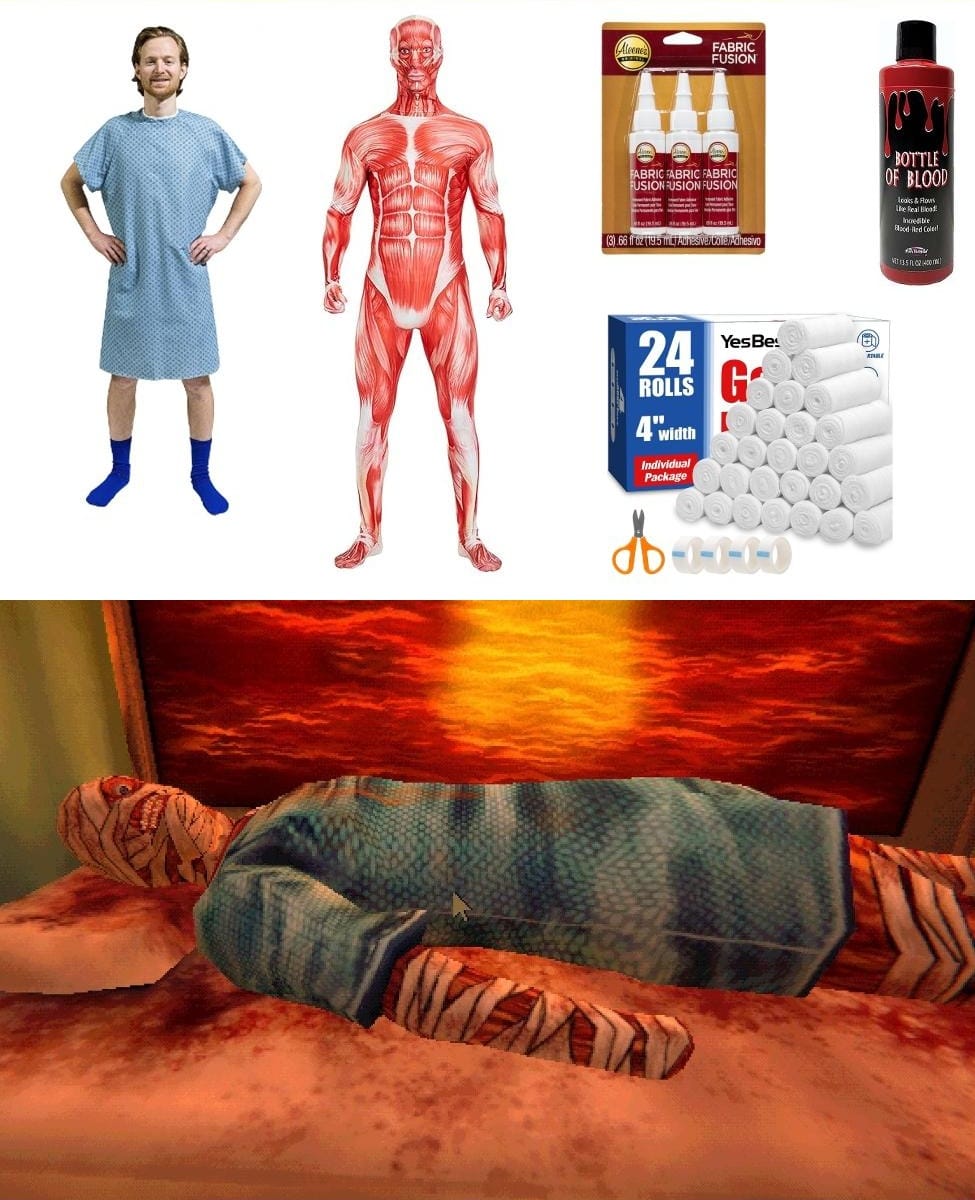




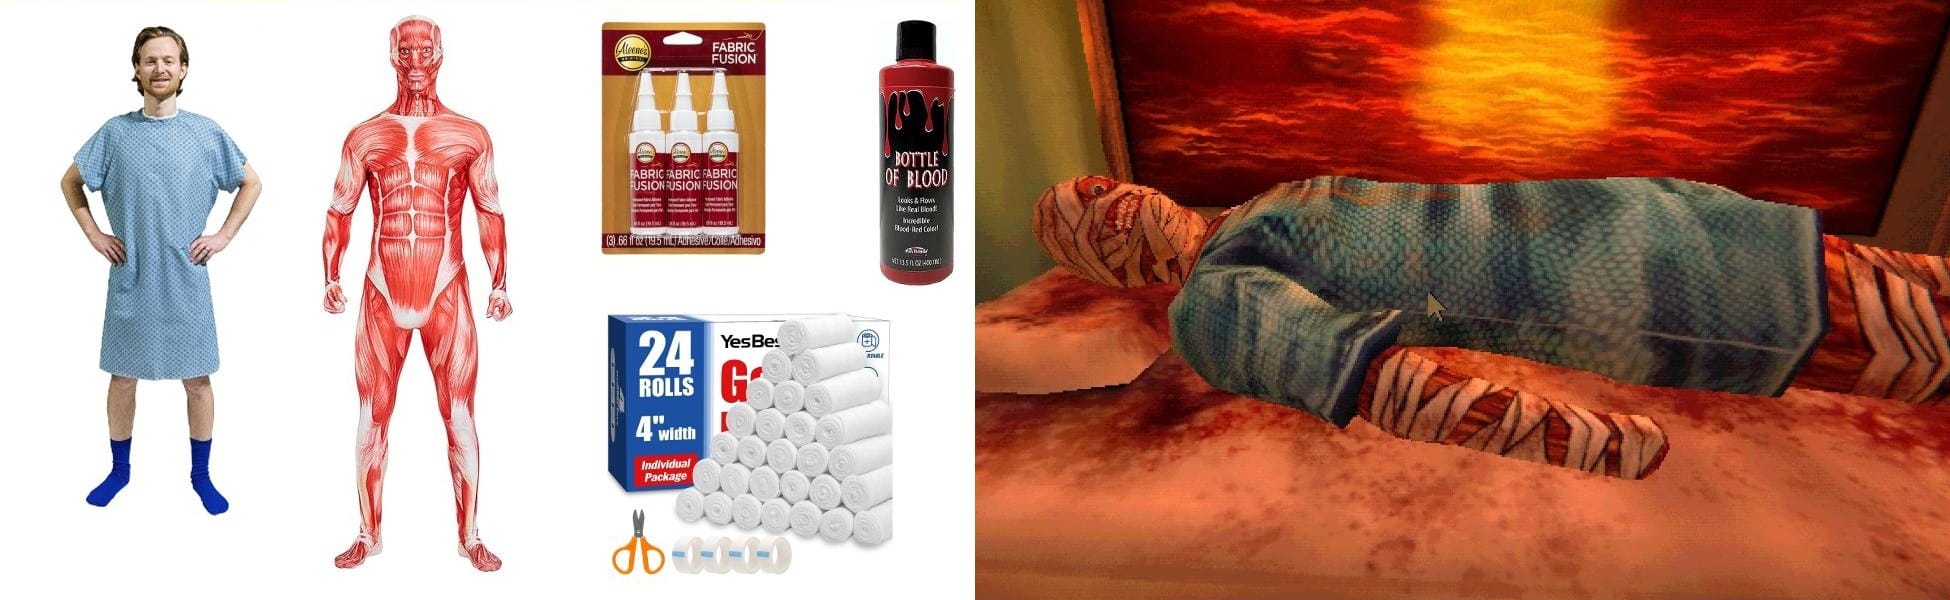
Curly’s post-crash appearance in Mouthwashing centers on extensive medical trauma, stripped skin, and makeshift bandages. Putting this outfit together means building an anatomical silhouette layered under clinical linens, rather than tailoring standard clothing.
Because the character spends the story incapacitated in medical care, the build relies heavily on surface texture. You need visible muscle tissue showing through patchy dressings, loose hospital garments, and realistic staining to get the horrific atmosphere right without sacrificing wearable comfort.
The Anatomical Base Layer
Curly’s exposed body shows severe burns and stripped epidermal layers, exposing raw striations of muscle. Recreating that directly on bare skin with silicone or liquid latex would take hours of tedious application and restricts movement. A full-body muscle print bodysuit provides the entire anatomical pattern in a single breathable garment that slips on instantly.
When sizing the suit, aim for a snug fit against your torso and limbs so the printed muscle fibers remain aligned with your natural musculature. Having the pattern hug your frame also prevents excess fabric from bunching up underneath the outer layers of wrapping.
Applying and Securing the Bandages
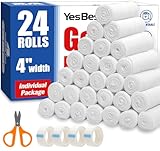
The bulk of the visual silhouette comes from irregular medical dressings wrapped across the head, limbs, and torso. Using a comprehensive gauze, tape, and scissors pack gives you the various widths needed to cover large surface areas like the chest as well as tighter contours around the jaw and neck.
Wrapping directly over the bodysuit requires a permanent anchoring method so you do not have to re-dress from scratch every time you wear the costume. Applying small dabs of flexible fabric glue to anchor points along the seams keeps the bandages positioned securely while allowing the stretch knit of the suit to expand when you put it on.
Keep the wraps slightly uneven, leaving windows where the printed muscle underneath stays visible. Real emergency dressings applied in distress are messy, unevenly tensioned, and layered haphazardly over damaged flesh.
Hospital Gown Styling
Over the bandaged body, Curly wears a standard blue hospital gown. These garments are cut loose and boxy, designed to tie loosely in the back rather than fit tailored to the body.
Leave the gown partially untied or draped asymmetrically over one shoulder to expose the wrapped chest and neck beneath. Slitting the sleeves or distressing the hem with scissors mirrors the rough, neglected conditions aboard the Tulpar.
Distressing and Blood Staining
Freshly opened gauze and clean cotton look too sanitized out of the packaging. Weathering the bandages and gown turns clean medical supplies into convincing post-trauma garments.
Stipple dark fake blood around the edges where the gauze meets the exposed muscle print, mimicking seepage and dried fluid. Concentrating heavier saturation around the chest and head dressings grounds the visual focal points where Curly’s injuries are most pronounced.
Diluting a small amount of liquid blood with water allows you to brush or flick a thin wash across the blue hospital gown. Letting it dry completely creates stiff, oxidized stains that hold their color under convention hall lighting.
Face Wrapping and Practical Comfort
Curly’s head wrapping is heavily occlusive, but you need to retain functional vision and airflow. Map out your eye and mouth openings on the base layer before gluing down the facial gauze strips.
Layer thin gauze across the eye area with enough spacing between fibers so you can see your surroundings clearly while maintaining a heavily bandaged look from a distance. Leaving the mouth area accessible or held by hidden hook-and-loop fasteners makes staying hydrated throughout the day straightforward.
More Costume Ideas

Webby Vanderquack DuckTales Costume Guide
Wildcat DIY Costume Guide

Old Man Jenkins SpongeBob Musical Costume
Brad Majors Costume Guide: How to Recreate the Rocky Horror Look

Jean and Gene Umbrella Academy Costume Guide

Simple Jack Costume Guide: DIY Outfit and Styling Tips

Arthur Claus Costume Guide
Skinny All-Might Cosplay Costume Guide: Outfit, Accessories & Styling

Ryo Asuka Cosplay Guide: Devilman Crybaby